The case: a full-size electric dryer with a 5.6 kW heating element (from its nameplate), 240 V, in a new laundry room 45 ft of cable from the main panel. The circuit is new, so it is wired from scratch.
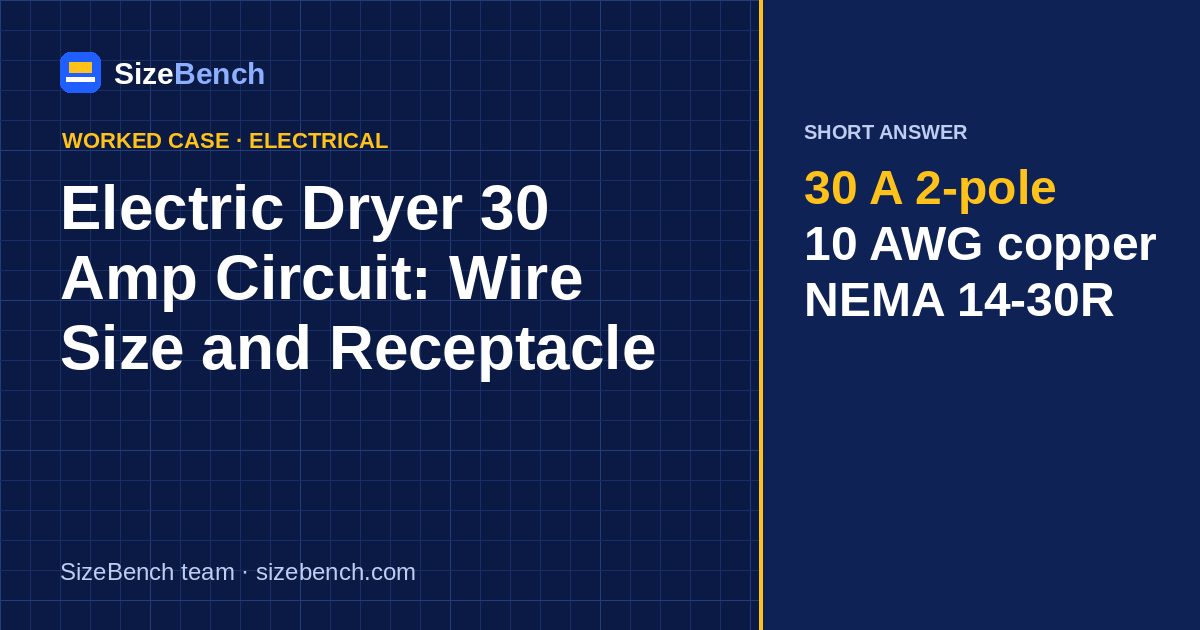
Short answer: a 30 A two-pole breaker, 10 AWG copper (10/3 NM-B with ground, or THHN in conduit), and a NEMA 14-30R four-wire receptacle. The dryer pulls about 25.8 A on its busier leg, and at 45 ft the drop is only 1.17%.

1. What the dryer actually draws
Most full-size electric dryers have a heating element between about 4.5 and 5.8 kW at 240 V; ours is 5.6 kW. The element alone draws:
I = P ÷ V = 5,600 W ÷ 240 V = 23.3 A
The drum motor, light and electronic controls run at 120 V from one leg to neutral. We assume about 2.5 A for them, so the busier leg carries roughly 25.8 A. That is the current we use for voltage drop.
For the NEC load calculation, a dryer counts as 5,600 W or its nameplate rating, whichever is larger. Here that is 5,600 W, or 23.3 A at 240 V, and the next standard breaker is 25 A, which is also what the installation manual of nearly every full-size electric dryer asks for.
2. Why 10 AWG copper
A 30 A breaker requires a conductor rated at least 30 A. Copper 10 AWG is rated 30 A in NM-B cable (60 °C column) and the NEC's small-conductor rule limits it to a 30 A breaker in any case. So 10 AWG and 30 A are a matched pair.
What does not work:
- 12 AWG on a 30 A breaker. Rated 20 A in NM-B. A classic flip-house shortcut and an immediate inspection failure.
- A 40 A breaker "because it trips." A dryer that trips a correct 30 A breaker has a fault: a shorted element, a failed thermostat or a damaged cord. Find it; do not oversize the breaker.
3. Voltage drop: when does distance matter?
At 25.8 A the drop on 10 AWG copper is small for typical house runs:
| One-way length | 10 AWG drop | 8 AWG drop | Calculator pick at 30 A, 3% |
|---|---|---|---|
| 25 ft | 0.65% | 0.41% | 10 AWG |
| 50 ft | 1.30% | 0.82% | 10 AWG |
| 75 ft | 1.95% | 1.23% | 10 AWG |
| 100 ft | 2.60% | 1.64% | 8 AWG |
| 125 ft | 3.26% | 2.06% | 8 AWG |
| 150 ft | 3.91% | 2.47% | 8 AWG |
The last column is conservative: it assumes the full 30 A breaker rating flows continuously, which a dryer never does. In practice 10 AWG covers almost any single-family laundry room; consider 8 AWG only beyond about 100 ft, for example a dryer in a detached laundry building.
If you upsize to 8 AWG for distance, remember that most 14-30R receptacles accept 8 AWG but some only take 10 AWG; check the terminal marking.

4. The receptacle: 14-30R, not 10-30R
There are two 30 A dryer receptacles in American homes:
| Receptacle | Wires | Where you see it |
|---|---|---|
| NEMA 10-30R | Two hots and a neutral, no separate ground | Older homes; the dryer frame was grounded through the neutral |
| NEMA 14-30R | Two hots, neutral and ground | Required for new dryer circuits for decades now |
A new circuit gets a 14-30R and four conductors: black and red hots, white neutral, bare or green ground. An existing 10-30R installation may remain where it was legal when installed, but you cannot install a new one.
5. Matching the dryer to the outlet
New dryers usually ship without a cord. Buy a four-wire 30 A dryer cord for a 14-30R, and follow the manual:
- Connect the two hots to the outer terminals and the neutral to the center terminal.
- Connect the green ground wire to the green screw on the dryer frame.
- Remove the bonding strap or wire that ties neutral to the frame. It is there for three-wire installations only. Leaving it in place puts neutral current on the cabinet.
- Fit the strain relief and close the terminal cover.
If you are stuck with an old 10-30R for now, the dryer gets a three-wire cord and the bond stays in place, exactly as the manual describes for that case.
6. GFCI and AFCI
Recent NEC editions extended GFCI requirements to 240 V receptacles in laundry areas, and the newest edition also lists dryers among specific appliances that need GFCI protection. Many jurisdictions also require AFCI protection for laundry-area circuits. In practice that can mean a two-pole 30 A dual-function breaker. Ask your inspector which edition applies; requirements vary by state and city.
7. Reading the dryer's nameplate
The rating label is usually inside the door frame or on the back panel near the terminal block. It tells you more than the breaker size:
- Volts: "240 V" or "120/240 V". Some labels add "208 V" with a lower wattage for apartment buildings with three-phase service.
- Watts or amps: our 5.6 kW element is the number we used. On 208 V the same element delivers only about 75% of its power, because resistance heating scales with the square of the voltage, so drying takes longer.
- Circuit: "Use on a 30 A circuit" or similar wording. That line, not your guess, sets the breaker.
8. How much energy one load uses
The element does not run all the time; its thermostat cycles it. Assume a 50-minute cycle with the element on about 60% of the time. Then one load uses roughly 2.8 kWh: 5.6 kW × 0.6 × 50 ÷ 60. A heavier load of towels, or a clogged vent, stretches the cycle and the kWh with it. Cleaning the lint screen every load and the duct once a year is the cheapest efficiency upgrade there is.
9. Heat pump and 120 V dryers
Not every dryer needs this circuit. ENERGY STAR heat pump dryers recycle the heat instead of making it with a resistance element; some run on a standard 120 V circuit and draw around 4.5 A (our example figure, check the nameplate). Compact 120 V vented dryers exist too. If the new laundry room is far from the panel and the space is small, one of these can avoid the 240 V run entirely.
10. Installation checklist
- [ ] 30 A two-pole breaker listed for the panel (GFCI/AFCI as your code edition requires)
- [ ] 10/3 copper with ground, or four 10 AWG conductors in conduit
- [ ] NEMA 14-30R in a box sized for four 10 AWG conductors and the device
- [ ] Four-wire cord, bonding strap removed at the dryer
- [ ] Measured before plugging in: about 240 V between hots, about 120 V each hot to neutral, 0 V neutral to ground
11. Signs of a problem
- The drum turns but there is no heat. One hot leg is missing: a tripped half of a breaker, a loose terminal or a blown thermal fuse. The motor runs on 120 V, so it keeps spinning.
- The plug is discolored or the receptacle is loose in the box. Dryer plugs carry close to 26 A for an hour at a time; a worn receptacle overheats. Replace the device and the cord end together.
- A tingle from the cabinet. Stop using the dryer. It usually points to a missing ground or a neutral-to-frame bond left in place on a circuit with a bad neutral.
- The breaker trips mid-cycle. Check the element and the cord before anything else.
12. Common mistakes
- Reusing an old three-wire cord on a new four-wire outlet. It will not fit, and adapters are a bad idea.
- Leaving the neutral-to-frame bond in place with a four-wire cord.
- Feeding the dryer from a 30 A RV-style 120 V circuit. A dryer needs 240 V.
- Pushing the dryer tight against the wall and crushing the cord or the vent. Leave the space the manual asks for.
Case summary
| Item | Result |
|---|---|
| Dryer | 5.6 kW element, about 25.8 A on the busier leg |
| Breaker | 25 A two-pole |
| Wire | 10 AWG copper with ground (10/3 NM-B) |
| Receptacle | NEMA 14-30R, four wire |
| Drop at 45 ft | 1.17% |
FAQ
What size wire for a 30 amp dryer circuit? 10 AWG copper. In NM-B cable it is rated 30 A, matching the 30 A breaker.
Can I use 10/2 instead of 10/3 for a dryer? Not for a new circuit. 10/2 with ground gives you two hots and a ground but no neutral, and the dryer's 120 V motor and controls need one.
How far can a dryer be from the panel on 10 AWG? At 25.8 A, 10 AWG drops 2.60% at 100 ft and 3.91% at 150 ft. Most homes never come close.
My dryer has a 5,000 W element. Do I still need 30 A? Yes. The NEC counts at least 5,000 W, which is 20.8 A, and the dryer's manual specifies a 30 A circuit.
Working with a different dryer or a longer run? Check it in the wire size calculator, and pull a permit for the new circuit.
Try it with your own numbersWire Size Calculator→Sources and references
- NFPA 70, National Electrical Code (NEC) dryer load rule (nameplate or 5,000 W, whichever is larger), ampacity of NM-B cable, four-wire requirement for new dryer branch circuits, GFCI rules for laundry areas
- ENERGY STAR – Clothes dryers how heat pump dryers differ in electrical demand from standard electric-resistance dryers
- U.S. Consumer Product Safety Commission dryer safety and recall information
- SizeBench wire size calculator the ampacity and voltage-drop math used in this guide
Standards and data behind our calculators
How we made this guide
Every number in this guide is calculated by the same code as our calculators, from the standards listed above, and the page is tested before publication. The SizeBench team researched, wrote and reviewed it; we use automation and AI tools to help draft, never to produce the figures. Our methodology →
Revision history
- · Published